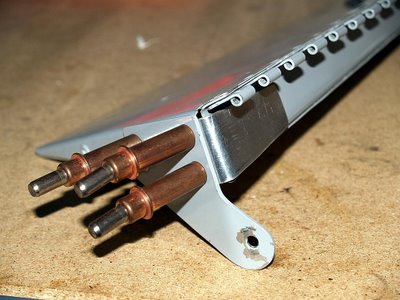
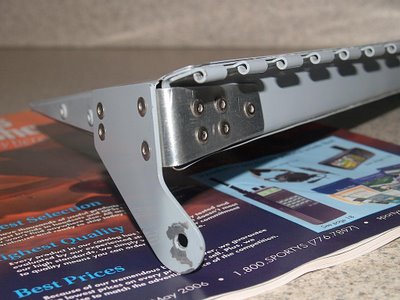
I had already formed the doubler and match drilled it to the trim tab and control horn, so all I needed to do was drill the rivet holes in the doubler and the front of the trim tab, deburr the holes, and pop the rivets.
Before drilling:

Riveted and ready to go, just before painting:

The trim tab went back on the plane easily enough, and while the stop drill hole still looks huge to me, the rest of the beefed up structure is nearly invisible.
This should about wrap up the annual. I'm not sure what it will ultimately cost, but doing most of the work myself will really have kept the cost down, and fixing the trim tab was a great test of the things I've learned in A&P school this quarter. I don't think I'm ever going back to store bought planes!

No comments:
Post a Comment