Saturday, April 29, 2006

Grove City -> Grove City -> Grove City

That was today's flight plan. Grove City, OH to Grove City, PA and back. Co-pilot Egg was flying with me today, so I had to come up with a destination that she'd enjoy, and being as she's just a few months shy of being an official teenaged female, I figured shopping would fit the bill. I had heard that there is an outlet mall close to the airport in Grove City, PA so that was our chosen goal.

We didn't get a particularly early start, but since the place is only 170 miles away we were only looking at a one hour flight time. The weather was good for flying cross country, with glass smooth skies above 3,500' and a nice overcast at 25,000'. Bright blue skies are nice to look at, but the sun coming through the bubble-like canopy of the RV-6 can really heat things up so a little overcast is beneficial on longer trips.

I usually monitor the destination airport's unicom frequency while still many miles out, and today that turned out to be particularly helpful. While we were in our descent into the landing pattern in PA, I heard a position announcement from Grove City Skydive, alerting all local traffic (i.e. us) that he was going to drop jumpers in 5 minutes. A quick glance at the GPS showed us arriving over the airport in 4:45 minutes. Well, there was a poser. I've never had this happen before, but I'm pretty certain that the jumpers would have the right-of-way, and even if they didn't, hitting one of them is usually fatal for all involved. Luckily, the pilot of the jump plane seemed very experienced and worked with me on the radio to ensure that we didn't suffer an untoward airborne rendezvous with a parachuter.

The ensuing landing was complicated by the downhill sloping runway but was fairly decent. At least the critical observer in the co-pilot seat didn't have anything derogatory to say about it, and that's a 'win' in my book. We were met at the plane with a friendly guy bearing the gift of chocks, but at $4.25/gallon I had to decline the proffered fill-up. After a quick (and very welcome! The bumpy air on arrival, combined with the 32 ounces of coffee inhabiting my 24 ounce bladder, had exacerbated my enroute discomfort quite startlingly) restroom break, we started the trek to the mall.

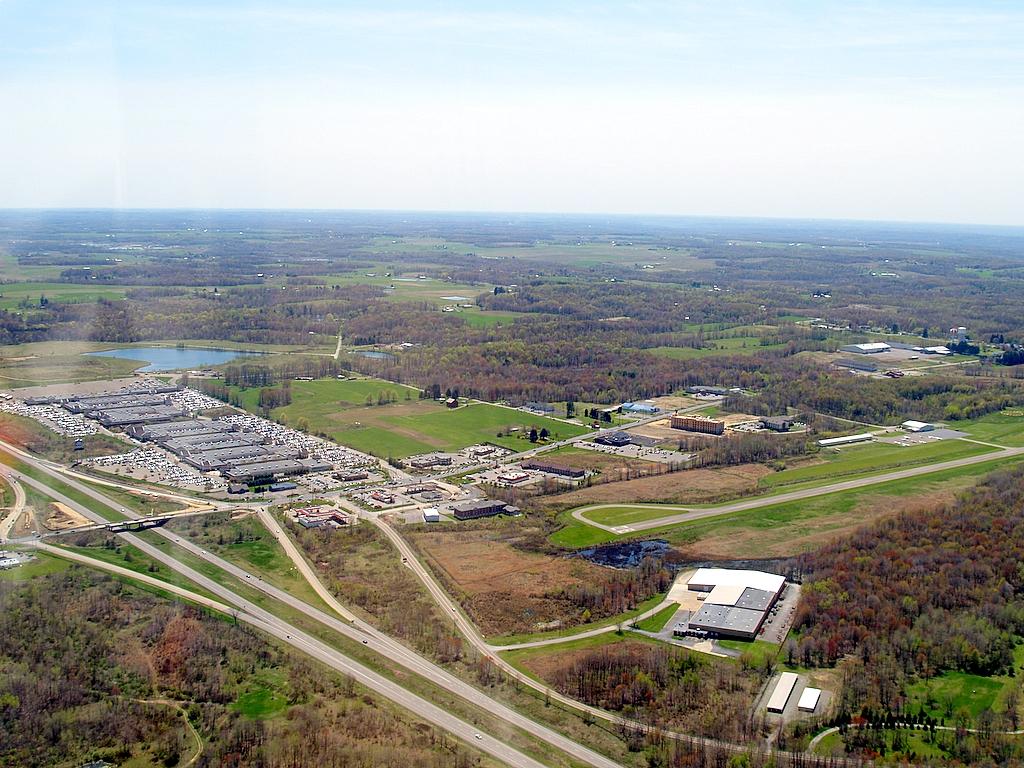
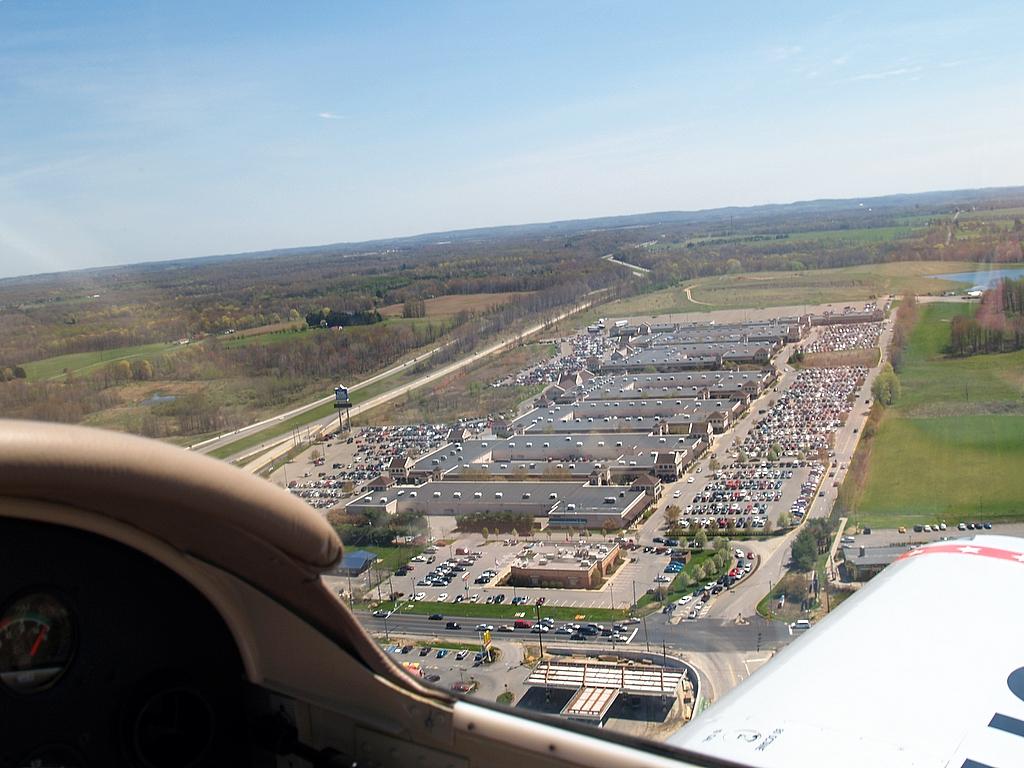
The mall is actually pretty close to the airport.


Had we not stopped at Wendy's, it would have been no more than a 15 minute walk. I wasn't thrilled with the choice of Wendy's, but it was the co-pilot's turn to chose. I would have preferred to try the nice looking pub/restaurant right next door.


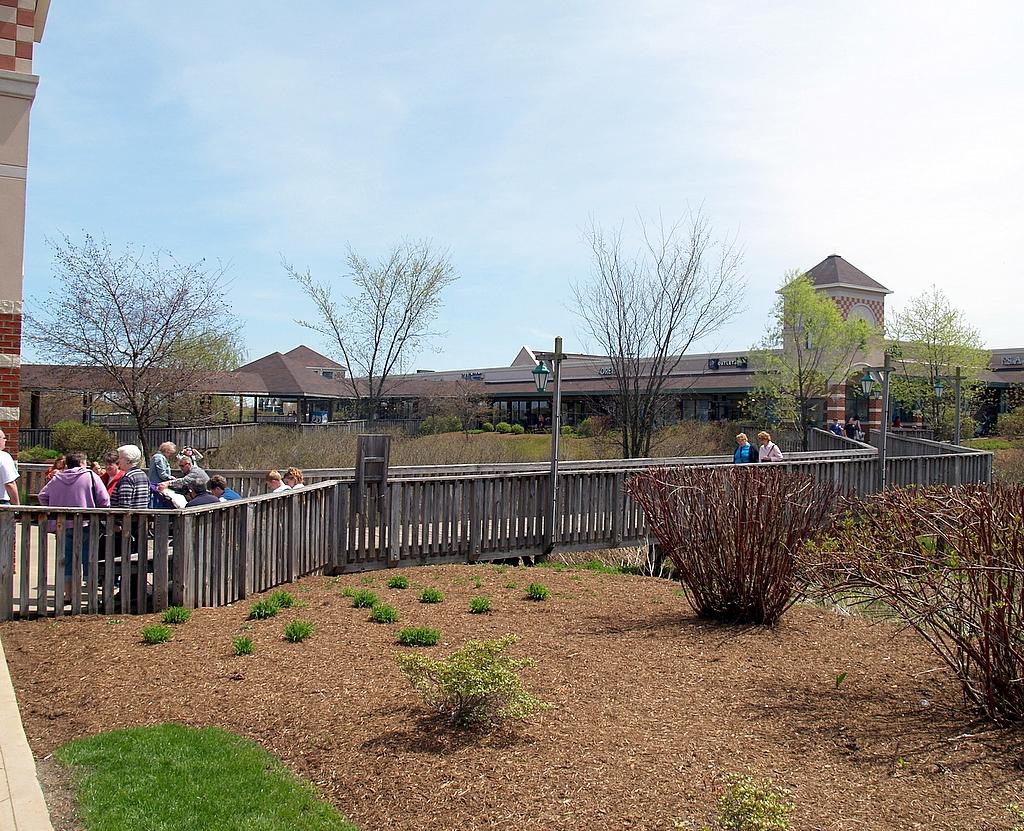
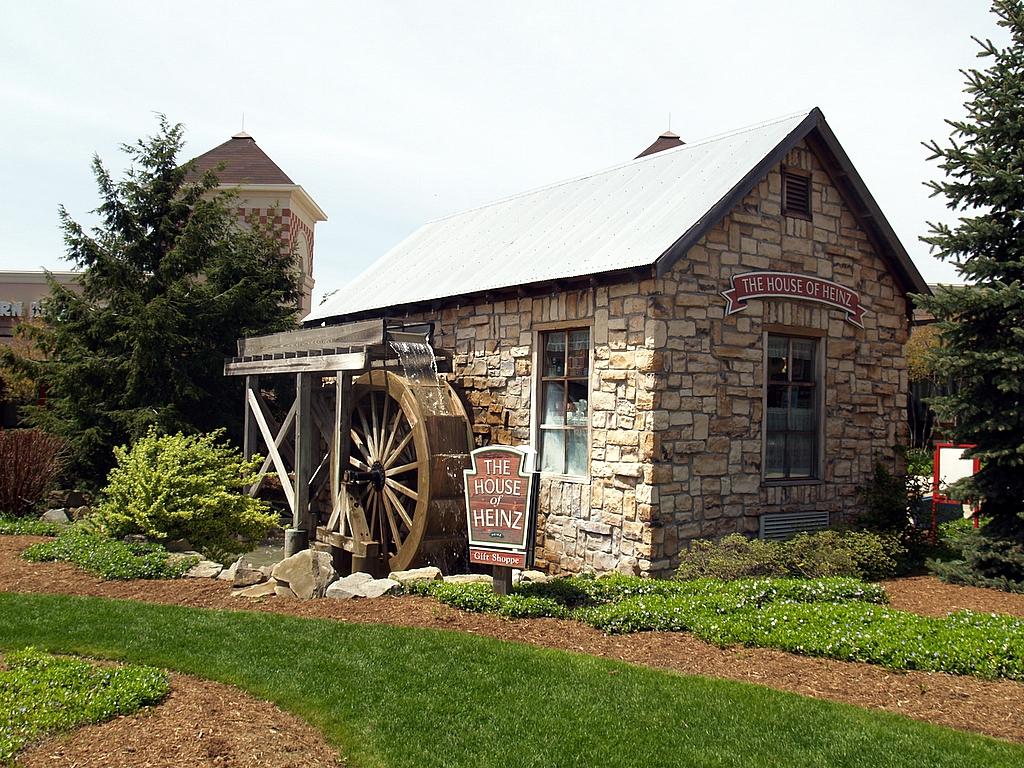
The mall is quite large and attractively landscaped.


The stores have Kohls-like prices at worst, and I'm sure plenty of even more deeply discounted items are available. The contrast with mall prices for the very same merchandise is striking, but compared with Sams Club or Kohl's the outlet mall is only slightly better on prices. The selections, however, are obviously far broader. I picked up a few work shirts, and co-pilot Egg gravited to the "girly" stores where she could try on cosmetics and fragrances.


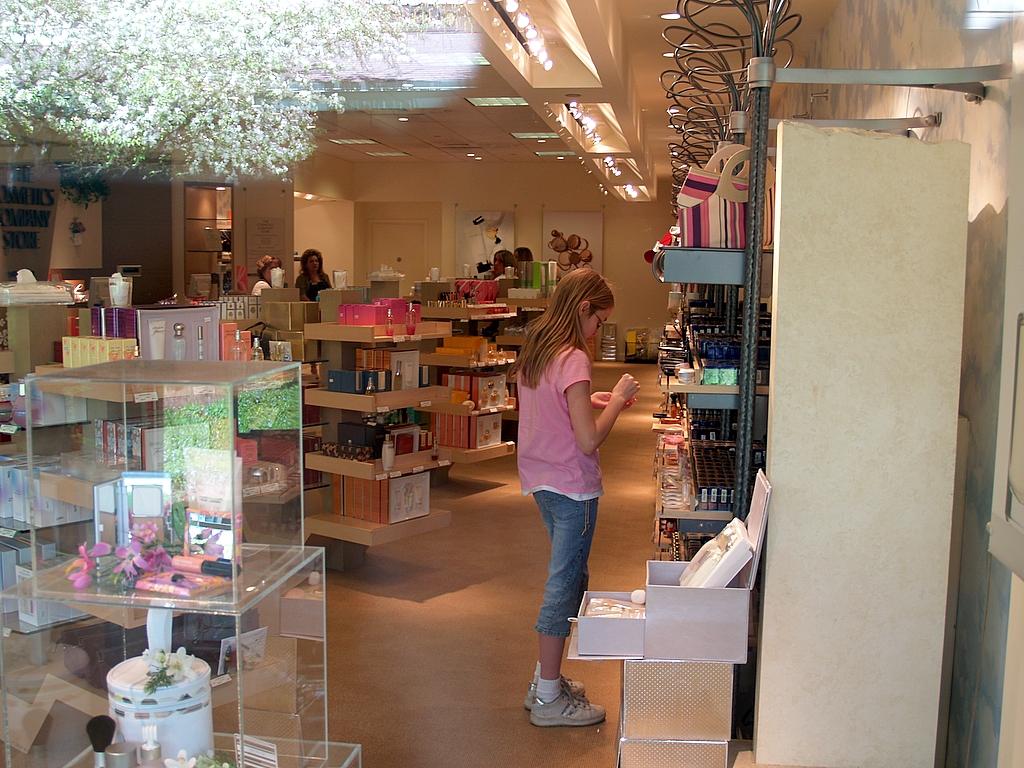
I had to insist on keeping the perfume samples to an absolute minimum, though, knowing very well what it would be like to spend a hot, bumpy hour flying home with her if she had free rein to spritz to her hearts content.

We climbed to 6,500' for the trip back, and it wasn't until we were over 5000 that the air smoothed out again. The overcast had grown thicker and gotten lower than our trip out, but at 12,000' was still high enough not to impede our progress. We'll probably have storms tomorrow, though.

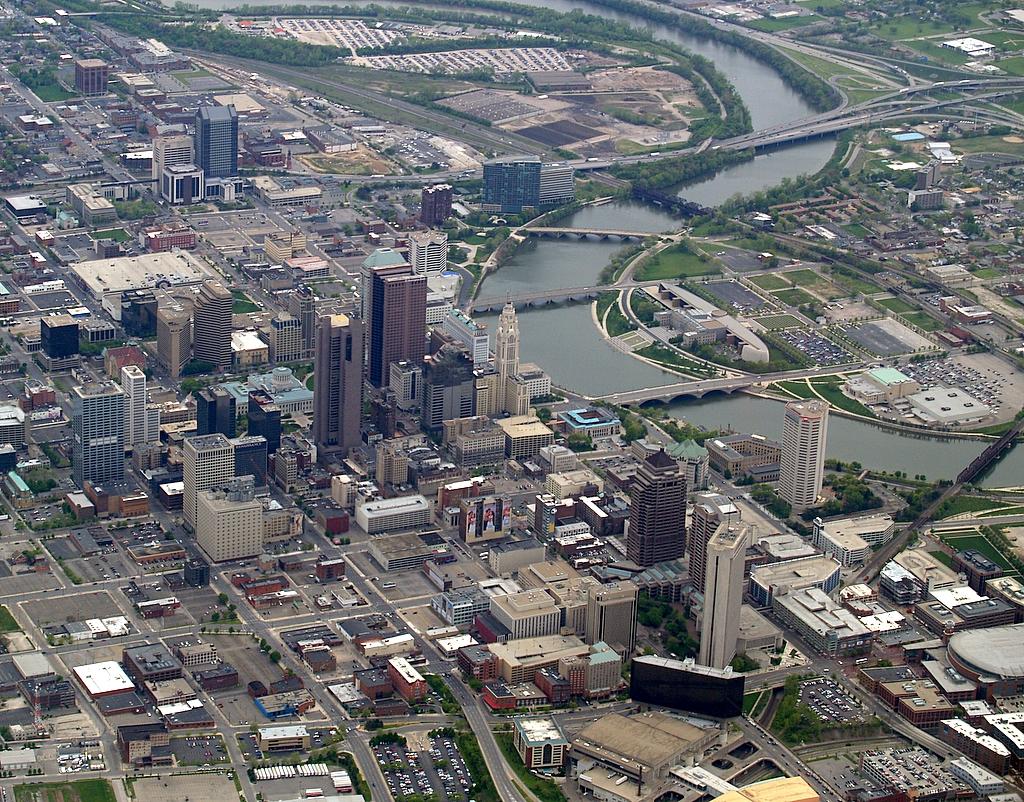
I decided since we were high enough to just go right over Columbus instead of making the detour all the way around their airspace, which saves at least 15 minutes of flying time, and is a bit more scenic.


The controllers held us at 5,500' until we were well south of the approach path to the east-facing runways at Port Columbus, so we were within 8 miles of Bolton before I was allowed to descend. That's really not a problem in the RV, though. She comes down like a brick if you want her too. We hit left downwind to runway 4 doing about 140 knots, but my draggy plane easily slowed to flaps extension speed (100 mph) well in time for the turn to the base leg. The wind had picked up a but since we left, but was still only 8 knots or so, albeit a direct crosswind. I share these esoteric details mostly in excuse for my not-so-great landing.

Lot's of bugs to wipe off today. People are often surprised when I tell them that even at altitudes higher than 6,000' I still hit bugs. I saw one splatter on the windshield right in front of me today at 6,500'! Damned over-achievers.

Tuesday, April 25, 2006

Metal work

In conjunction with the sheet metal class I'm taking this quarter in the A&P program, I'm also doing a bit of independent work in the hangar. I guess you could consider in the community college equivalent of a thesis. I ordered the training kit from Van's that many first time builders use as their introduction to the skills needed to assemble the airframe portion of the kit.

The first step in constructing any kit is performing an inventory of the parts. Not only will this save frustrating delays later in the build process, it will also ensure that any missing/damaged pieces and/or parts are reported to the kit manufacturer soon enough that they will send you replacements on their nickle.


All parts were present, and there was no damage, so on to the next step: read and comprehend the instructions!

Here's the 3D view of what I'm building:


The first step actually involving working with metal requires cutting some skin stiffeners out of the supplied angle pieces shown here. The blue color comes from the protective plastic that coats the kit parts. It is easily peeled off, although a lot of people building planes tend to leave it on as long as possible to avoid damaging the soft aluminum. It doesn't take much of a scratch to completely ruin a piece. The nearly pure aluminum cladding on the copper-alloyed 2024-T3 aluminum commonly used in building airplanes is intended to provide corrosion control. The clad layer is very thin, typically only 5% of the total thickness. Consider that the thickness of a wing skin is usually on the order of only .025", that's pretty thin! Scratching it removes the corrosion protection from that area, and possibly even worse, it creates "stress risers," areas that will could possibly crack as the aluminum gets more brittle with age.


I cut the stiffeners out of the angle with tin snips, which initially didn't go very well. The snips can be very destructive to the piece you're working on if you aren't very careful. I did pretty well for the most part, although one of the stiffeners got a bit bent on the narrow end. I don't think it'll matter too much, though, and I can fix it up a bit with a pair of pliers. Once the rough cut was made with the snips, I cleaned up the edges with the file. The tool with the red handle is a deburring tool. It can be used to clean up the rough edges of a drilled hole, or it can also be used to clean up a rough edge. All holes and cuts MUST be deburred to avoid stress cracks in the future. In fact, roughly half of the time spent building an airplane is in the arena of drill, deburr, cut, deburr, assemble, and rivet.


The next step is to drill the pre-punched holes to the final size they will need to fit the rivets, then cleco the stiffeners onto the skin. The mere addition of a thin piece of metal with a 90 degree bend in it stiffens the skin by at least a few orders of magnitude; it's really pretty amazing. Clecos are spring loaded clamps used to hold two (or more, I suppose) pieces of metal together while drilling or working on pieces. You can see them in this picture:


This picture also shows the one stiffener that objected to being rendered with tin snips. I haven't tried to straighten it out yet. You can tell it's not right by the gap between the stiffener and the skin - it should be completely flush against the skin.

I'm currently stuck at step 3. In step 3, I have to dimple each hole in both the skin and the stiffeners to allow room for the rivet to go into the hole far enough to leave a flush surface on the outside of the skin. This process is called flush riveting, oddly enough. The promblem here is that the skin is only .025" thick, and anyhing less than .032" requires dimpling rather than countersinking. Countersinking is done with a special drill bit, one of which I have in my toolbox. Dimpling, on the other hand, is done with a C-frame dimpler, a $200+ tool that I don't own. I would need one if I was building a plane, but it obviously isn't worth the capital investment just for this kit, particularly when I can borrow one pretty easily.

Here are the top and bottom skins, with the stiffeners clecoed in place and waiting for dimpling:


So far I've spent two hours on the kit. If you think about it, that's approximately one-tenth of one percent of what it would take to build a plane. That's apropos of nothing, I suppose, but for me it's something to think about. Could I do this 1000 more times?

Monday, April 17, 2006

Nothing much to report

Mostly spending the weekends either lamenting crappy weather, or using good weather to get up to speed on this years yard maintenance. Just getting the snow blade swapped out for the mower deck is a big chore, and having had the mower deck on and off twice in the last two weeks hasn't helped. Hopefully blue skies and reasonable winds are on the way...

I haven't talked much about school, but I'm enjoying it immensely. I'm in the long-anticipated sheet metal class, and having a ball. It's nearly all hands-on fabrication work in the shop, with very little by way of lectures. As usual, the FAA starts out assuming we've never even heard of this miraculous new material know as mett-tall. Truth be told, there is a little bit of book learnin' involved. We started out by cutting and bending flat sheet metal, which sounds easy enough until you find out about things like bend allowance and setback. Bend allowance compensates linear measurements for the amount of metal that gets used in making the bend, while setback has to do with the counter-intuitive lessening of the overall length of metal required when measuring for a bend. It's all a little silly, though, since the math is done to a .001" precision, while the cutting and bending is lucky to be accurate to a .1" degree.

Tonight I will officially do a project that I started last week. It involves flush riveting, which in turn requires drilling countersink holes in the top sheet so the rivet head has someplace to nestle down in and be flush with the top skin. Here, you can get a better idea of what I'm talking about at this site. I knew that all of the precision measuring and cutting was likely to be a waste of time since I'm not very experienced with riveting, so I just grabbed a few pieces of sheet metal and did just enough prep work to get to the riveting part. I actually did pretty well, but sure enough I ruined the whole thing with one really bad rivet. Having had the practice now, though, I'll do all of the measuring tonight and hopefully finish it without another bad rivet.

I've found over and over again that having my own tools was the right thing to do. I'm getting frustrated with some of the other students, though. They can't even seem to acquire and bring a Sharpie marker and a buck-two-eighty ruler. I have to gather all of my stuff up from all over the shop every night when it's time to leave since it all gets spread around amongst 6 other students. Oh well, I've had to borrow a lot of tools recently for maintaining the RV, so I guess it goes towards positive tool karma to loan now and then.

Sunday, April 09, 2006

Gettin' back in the saddle

It's been more than three weeks since I've last flown. With all that time out of town, and the high Spring winds we've been having, there simply hasn't been a good day to go out and refresh my landing skills. Today was forecast as severe clear with light winds, so I got an early start and flew over to MadCo to get in some practice landings.

The wind was light and variable, but primarily coming from the East. I must have misheard the fella at MadCo that answered my request for winds, though. I'd swear he said 330 @ 7, which would favor landing to the West on runway 27, but between ending up way high on final and having to slip it in and the wind that ended up being a quartering tailwind, it wasn't a very good landing. I taxiied back to runway 9 for the departure and decided to head down to Circleville (KCYO) where the runway is oriented North-South.

I made a so-so landing there, and while departing back to Bolton I heard on the radio, "Hey, we still have coffee and donuts down here." I quickly verified that the radio call was from Circleville, and since I felt I owed myself a better landing I went around and landed again. The second was much better than the first, and it turns out that they did, in fact, have a freshly brewed pot of coffee on. There were 8 or 9 pilots in there swapping war stories, so it was a very boisterous atmosphere. Naturally there were a lot of questions about the RV, and since talking about my plane is my second favorite topic (me being the first!), I spent a half hour or so chewing the fat with them.

The landing back at Bolton was a greaser, so it looks like I've regained the expertise lost during my length lay-off. It's going to be a great summer!