
I started by measuring the outer rim of the front halves to determine where the screw holes should go, and drilled a #40 hole in each location. I used #40 as a pilot hole, knowing that I'd final drill to the size of a 6-32 screw later. The #40 has the advantage of being just the right size to allow a snug fit with clecos.
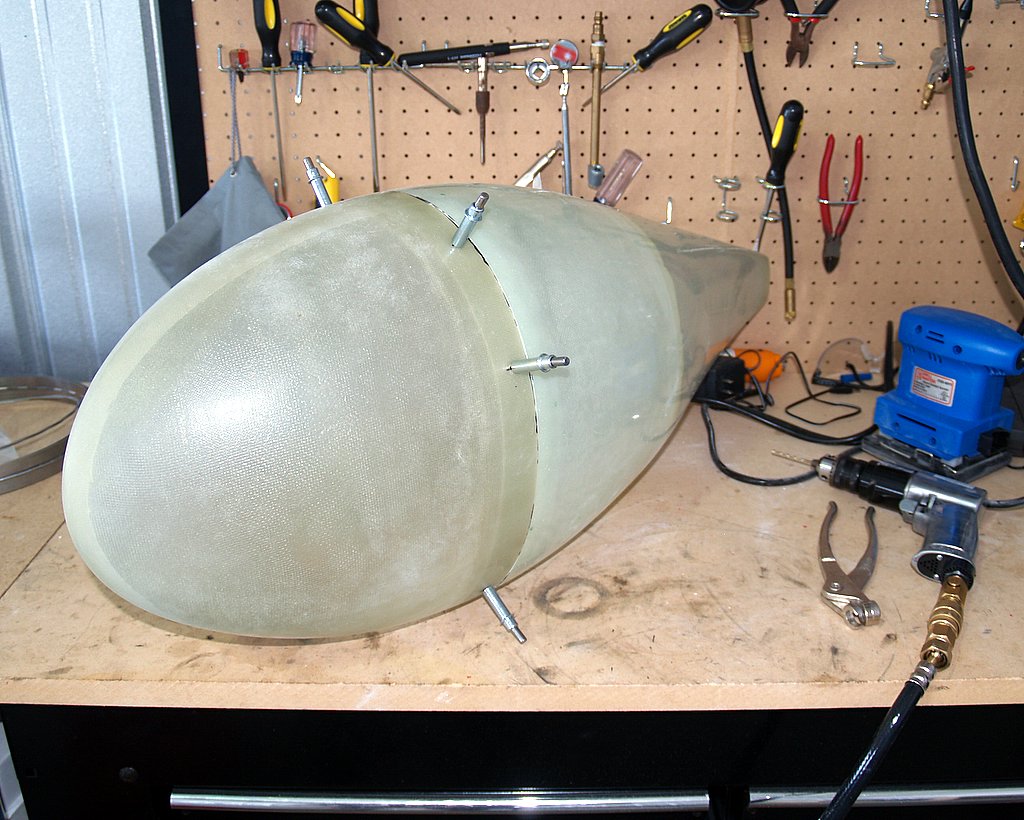
I had to separate all the pieces/parts for the fasteners out from the mixed bag of parts provided by Vans. The nut plates on the left get riveted inside the inner edge of the back halves, and the screws and washers go through the outside of the front halves into the nut plates. Because the pants are fiberglass rather than aluminum, I can't use my rivet gun to set the rivets since it would probably do major harm to them. To set these rivets I would need a rivet squeezer, a tool I don't happen to own. Thankfully, Rick rode to the rescue!

There is a tool available that makes easy work of correctly positioning the holes for the nut plate and its rivets, but I haven't got one of those either ($38!! Pfffft - my drill press was $40) so we had to do it the old fashioned way. First, the nut plate is placed on the outside of the pant, and the screw is put in from the inside.
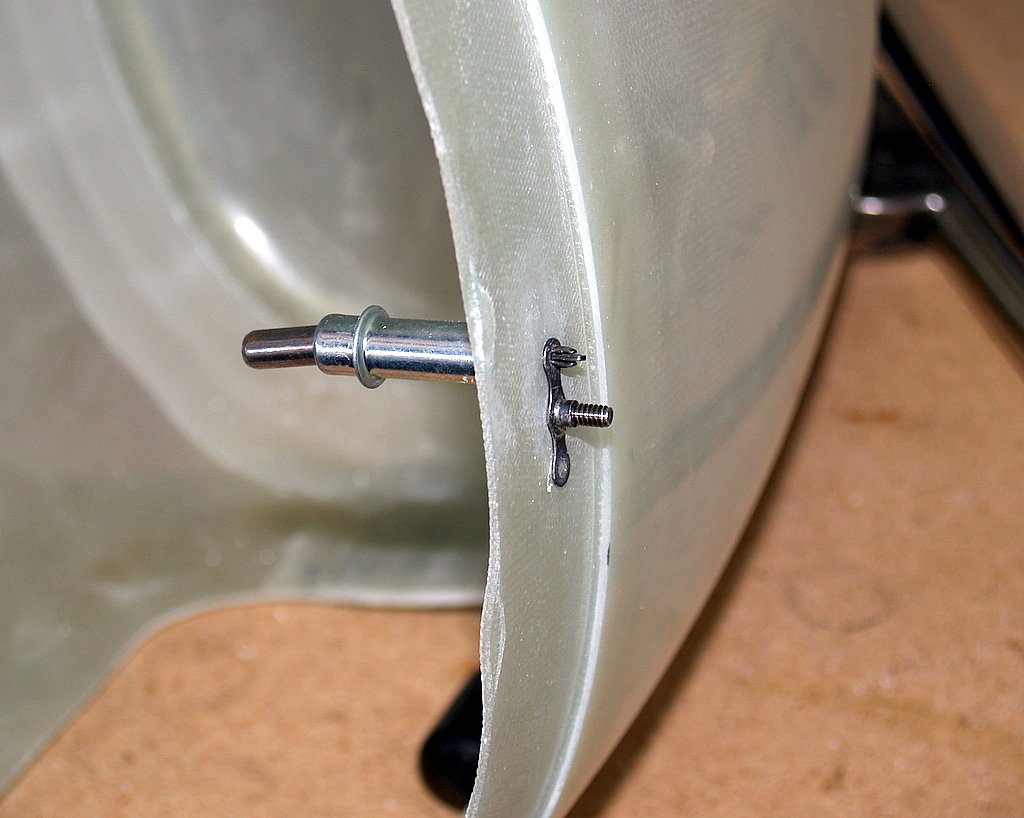
This will hold the nut plate in place tightly enough to allow the #40 hole for the first rivet to be drilled, and a cleco inserted to hold it in place while the second rivet hole is drilled.
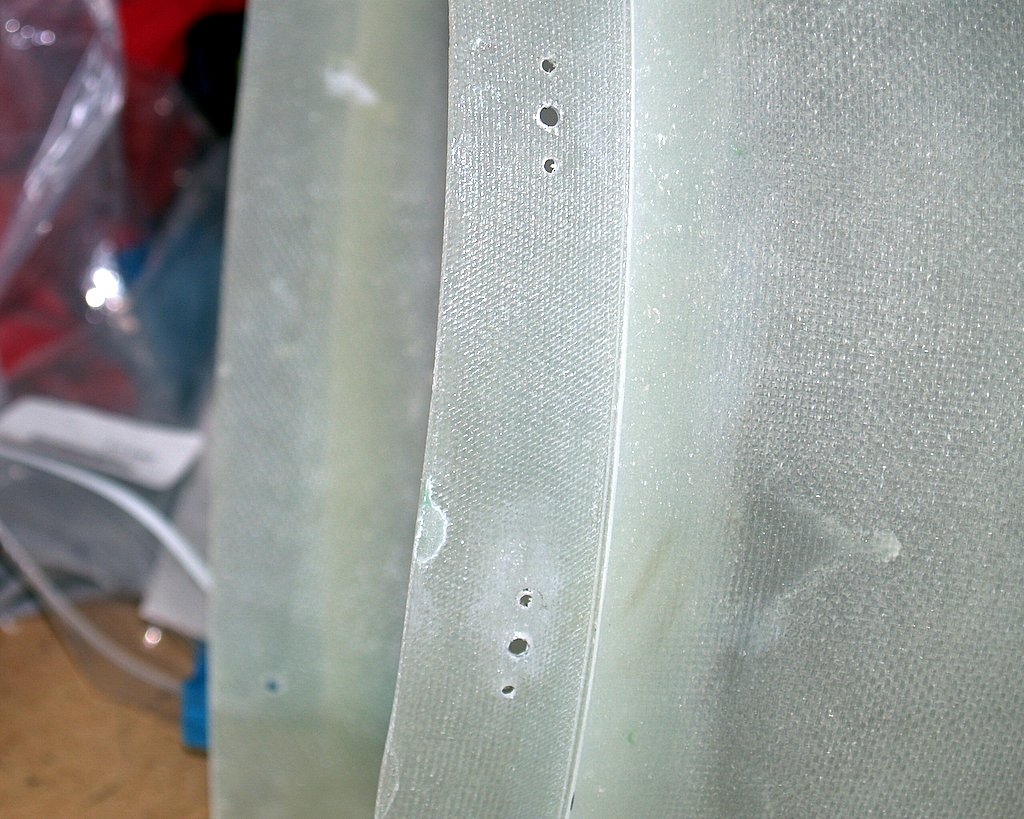
This works very well in positioning the holes, but it's a bit time consuming. They came out looking pretty good, though.
Each of the rivet holes needed to be countersunk on the outside to make room for the head of the flush rivet, and that was easily accomplished using a countersink bit. Normally the countersink bit is driven by a drill, but fiberglass is so easy to cut that I was able to do it by hand. Once the countersinking is done, the rivets are squeezed into place. The rivets used in this case are only 3/32" in shank diameter, so they squeezed pretty easily. I'll be working with 4/32" rivets later which are much harder to squeeze, but they will be set in the aluminum bracket and thus can be done with the rivet gun. The whole job ended up taking a couple of hours, but the results were gratifying.

There was even enough time left in the afternoon for a quick hop over to MadCo for gas. Gentle winds, not-too-bad landings.
No comments:
Post a Comment