
I'm currently very interested in the various methods of attaching the back halves to the vertical bracket, and near as I can tell there are three approaches. Going strictly by the plans, the pants get riveted to the bracket with size 4 (4/32", or 1/8" if you do the simplification), but I've also heard from a guy that followed the riveting with glassing over the bracket ends. Yesterday I saw a third approach: screwing it on. I'm not sure what the benefit of that is, other than I wouldn't have to borrow a rivet squeezer again.
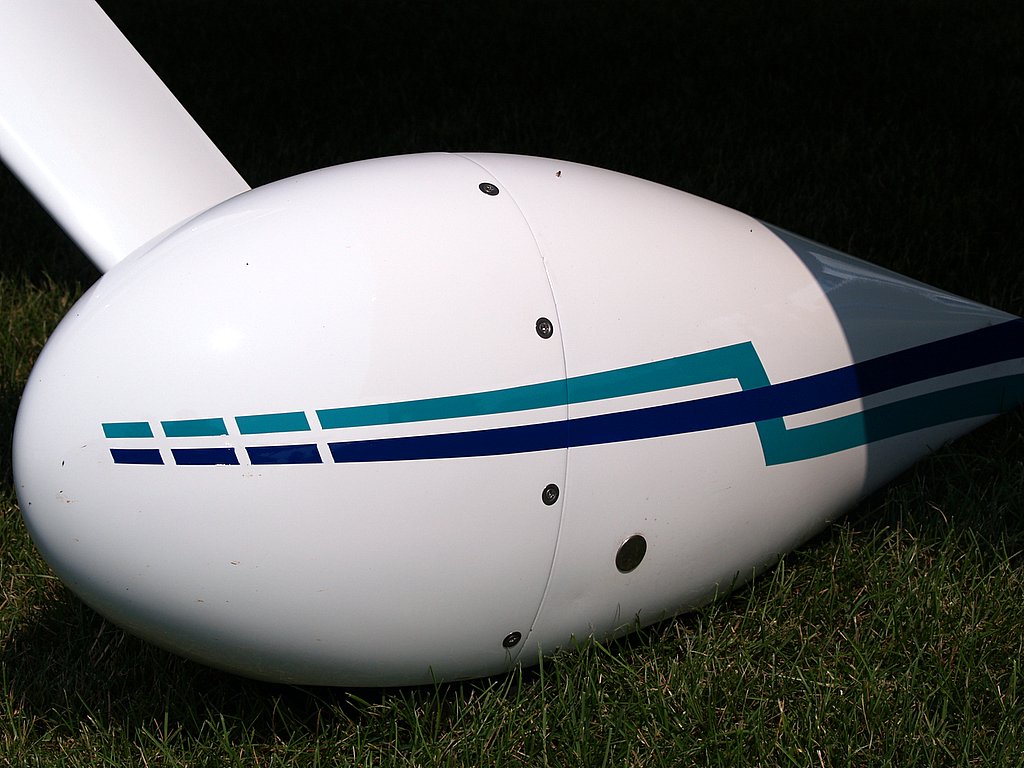
The riveted approach gives a cleaner looking installation:
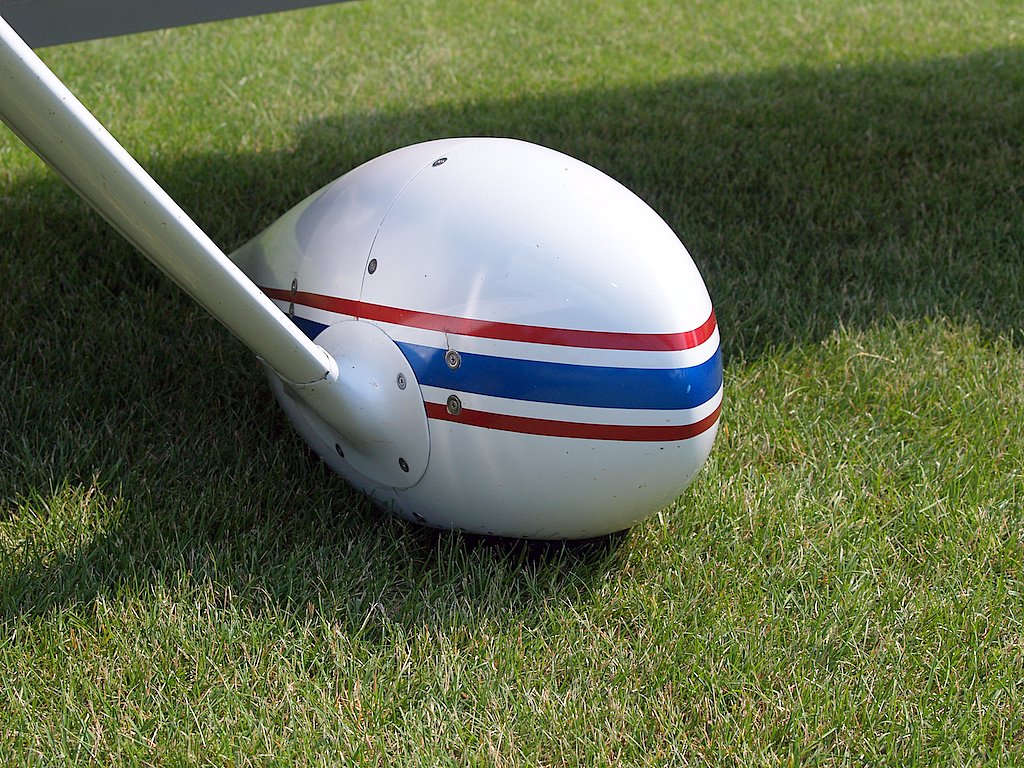
But there are so many screws in these things already that using the screw-in approach doesn't really make all that much difference:
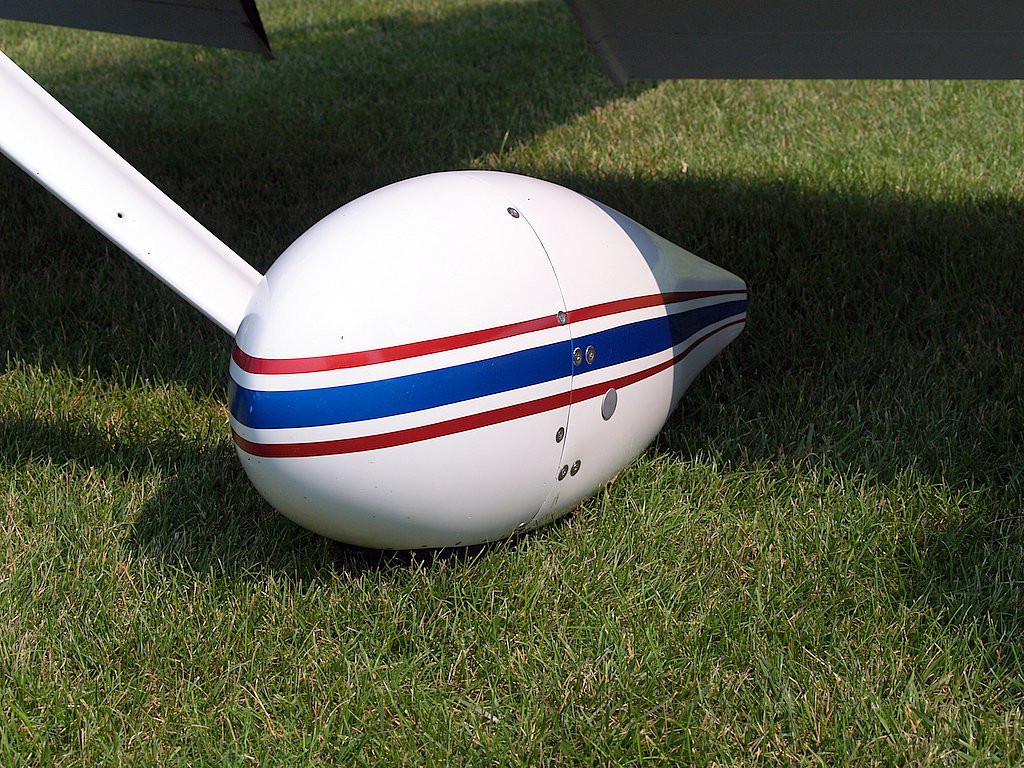
Either way, both of these pictures reminded me that I need to drill a hole to allow access to the shrader valve so I can check the tire pressure and refill as needed. I don't think that's ever mentioned in the plans.
I also took advantage of the opportunity to look ahead to one of the later steps, which is how to attach the lower intersection fairing. One method is to cut the trailing edge of the fairing, slip it over the gear leg fairing, and attach it to the wheel pants with screws and nut plates mounted inside the pant:
The other approach is to split the fairing with a vertical cut, and glass the resulting halves to the matching pant halves:

I saw a builders log that used the latter method, but after the in-flight loss of the back half of the fairing he re-did it using the former method, which is I believe also is the per-plans method. (There's more to the story than that simple synopsis, which you can read about here. Part of the impetus for the change was an unfortunate incident at a fly-in.) In this case, however, there is a distinct benefit in one of the methods. The vertical split method makes the intersection fairing an integral part of each of the pant halves, making removal and installation a bit easier by reducing the number of screws that have to be dealt with. Nut plates hold into the screws pretty tightly, so it's not at all unusual to round out the heads now and then. It's not expensive to replace worn screws with new, but it's an additional hassle none the less.
I haven't decided which way I will ultimately go with this, although on the face of it, it appears to be "six of a dozen, half of one another." (Note: yes, I know that's a butchery of the phrase, but I use it now and then to see if people are listening. Just a little personal language prank - I'm like that)
No comments:
Post a Comment