
Leveling the plane isn't too difficult if all you care about is leveling in pitch (up & down) and don't care about the wings being level, although at some point the wings too will need to be level when it comes time to align the leg fairings. For now, though, it's simply a matter of lifting the tail and placing it on a stand. Well, you have to get the stand shimmed up to provide exactly the correct height, but that's simply a matter of back-breaking trial and error. Once the plane was level, I bolted in the set of brackets that bolt into the axle nuts. These brackets will be riveted onto the back halves of the wheel pants, and are the primary attachment point for the outside of the wheel pants. The long axis of these brackets has to be leveled such that they are perpendicular to the nose-to-tail line of the airplane. If the airplane is level, that's a pretty simple task.

Up on the tail stand. It makes me nervous - it looks like the slightest bump will drop it on its nose.
The brackets need to be leveled and bolted into place before trimming the back halves because those brackets are used to set the alignment of the pants. After setting the pants in position and marking the area that needed to be trimmed away, it was time to bite the bullet and start removing more material. In my brief experience with trimming fiberglass, I've come to believe that the best thing about working with this stuff is how easy it is to remove material. Of course, I've also come to believe that the worst thing about working with this stuff is how easy it is to remove material. It's very easy to go too far but, unlike when working with aluminum, it is possible to add material back on if you need to.
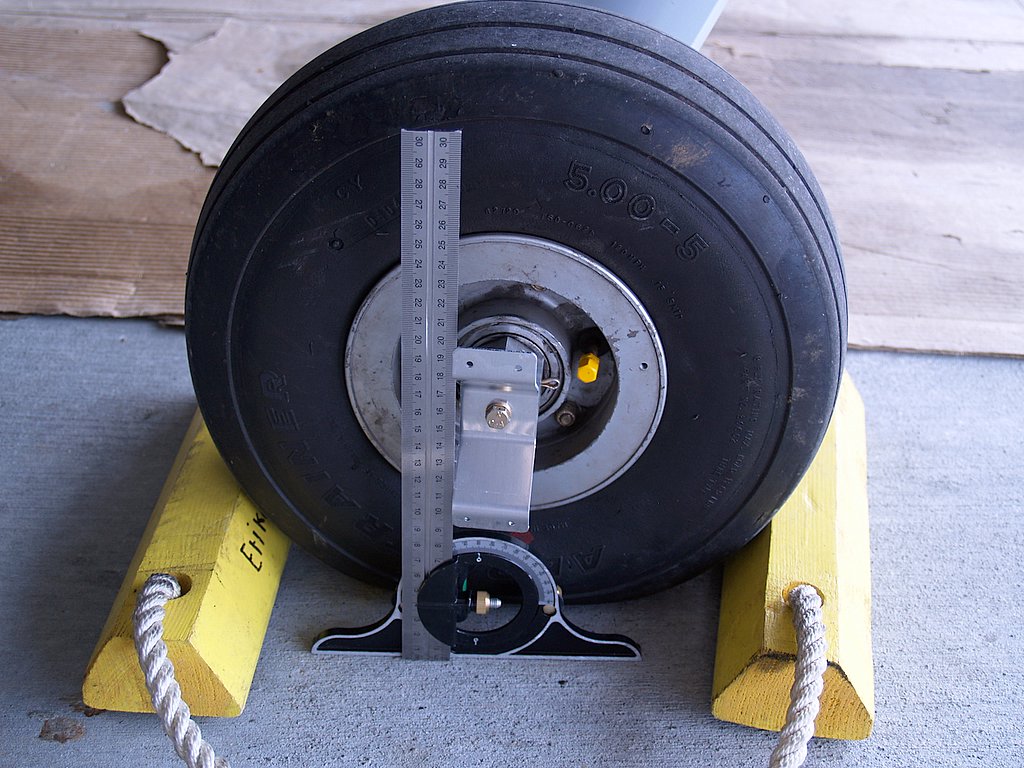
This is the crude way of leveling the bracket, but as pointed out to me, it assumes the floor to be level. A bubble level was subsequently used to great effect in the fine tuning.
After a few eyeball - mark - trim - eyeball - swear - mark - trim cycles, I started really enjoying it. I have a cheap little pneumatic die grinder I picked up from Harbor Freight that works very well. It came with three different size sanding drums, and those are just fantastic for making nice curves. Like I said, they remove a whole lot of material very quickly, albeit by turning it into very fine dust that I will be living with in the hangar for quite a long time. I enjoyed the trimming so much, in fact, that I started wondering why people hate working with fiberglass so much. I figured I must have bypassed the hateful part by buying the parts already molded and skipped straight to the fun part.

This is as far forward as they would go without cutting the axle relief. They need to go forward to the point where the forward edge of the bracket is aligned with the back edge of the joggle. In other words, in this picture the pant needs to go another inch and change forward.
After trimming away a large enough opening to position the pants against the leveled brackets, I commenced with a strange litany of hemming and hawing, all the while trying to get all three axis of the pants in the correct position relative to the wheel. Upon getting the pants aligned and taking another look at the manual, I noticed that steps that were confusing upon my initial read-through make a lot more sense as I get closer to them. Such was the case with the paragraph that told me that the U-808 (the level brackets) fit in an area of changing thickness in the fiberglass and may need a few strips of glass cloth expoxied in to make it all fit.
Tonight I took care of that. I had to get all of my supplies ready before starting since the hardener I bought sets the epoxy in 10 - 15 minutes, a period that doesn't allow for a lot of fumbling around. I mixed up the epoxy, saturated a strip of cloth, and cut pieces out to lay in where I needed the glass to be thicker to better fit the bracket. It's a messy operation, or at least it was for me, and it proved that I had in fact bypassed the nasty work by buying pre-formed parts. Maybe this kind of work grows on you (it sure as hell sticks to you!) with experience, maybe not. I have more to do as the installation progresses, so I'll get a chance to find out.
Sounds like you're making some headway on it. How many more steps are left until they're mounted and you're cruising at 160?
ReplyDeleteWell, let's see.
ReplyDelete- drill the pants to match the pre-punched holes in the vertical bracket.
- rivet the vertical bracket to the pants
- drill the horizontal bracket and pants
- install but plates in horizontal bracket
- paint the pants
- add 180hp IO-360 with CS prop
Voila! 160 knots! Note that the last step is critical.